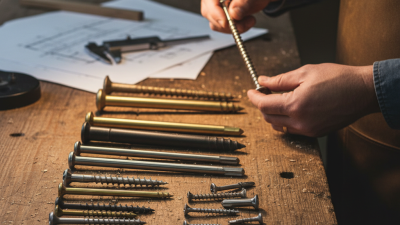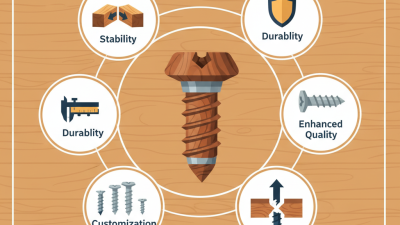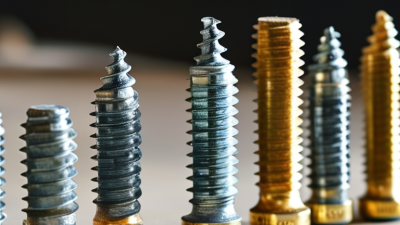
Choosing the right Wood Screw can determine whether a project feels solid or slowly works loose. A cabinet joint, deck board, and indoor shelf each demand different screw features. Length, diameter, thread pattern, head shape, and coating all affect performance. Small details matter.
This guide combines practical workshop experience with recommendations based on manufacturer specifications and common woodworking standards. A screw that performs well in soft pine may split dense oak. Outdoor timber also needs stronger corrosion resistance than a dry indoor project. Stainless steel, coated steel, and brass each suit different conditions. The correct length should provide firm holding power without piercing the finished surface. Pilot holes can reduce splitting, especially near board ends. They also improve accuracy.
Do not rely on appearance alone. A bright, sharp screw may still have the wrong thread or insufficient strength. I have occasionally selected a convenient screw and regretted it after the joint loosened. That mistake is worth remembering. Reliable results come from matching the fastener to the wood, load, environment, and installation method. Your drill setting matters too. Excessive torque can bury the head or damage delicate fibers. Stop before the surface tears.
The sections ahead explain how to compare Wood Screw materials, sizes, drives, threads, and coatings. They also show when a pilot hole, washer, or different fastener is more appropriate. There is no universal choice. Careful selection makes the finished project safer, cleaner, and easier to repair.
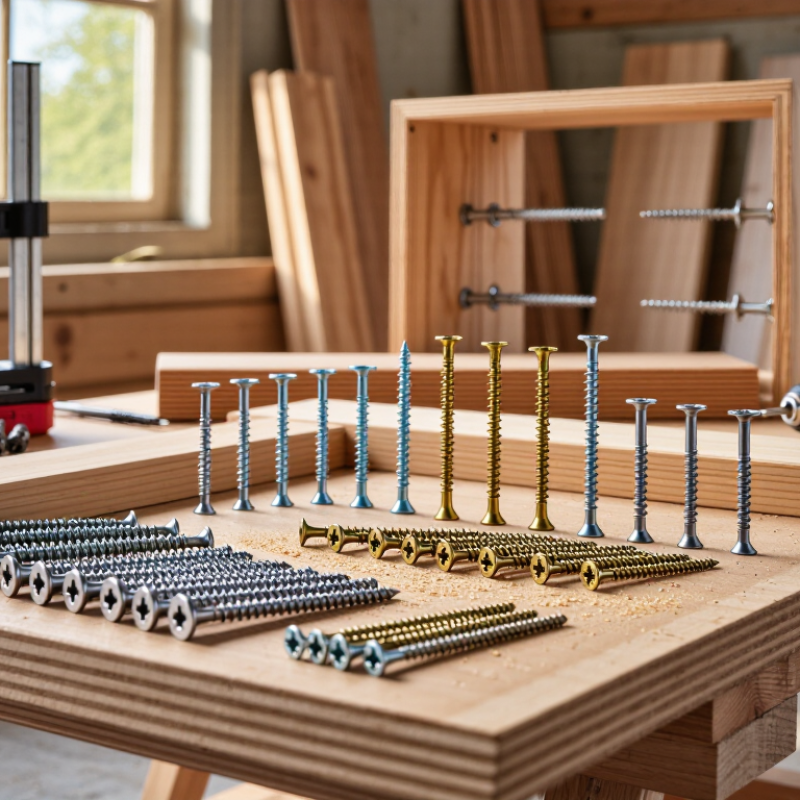
Choosing a wood screw starts with identifying the materials and the joint. Standard wood screws suit hardwood and softwood projects, such as shelves, cabinets, and small repairs. Their sharp points enter timber cleanly, while coarse threads grip softer wood effectively. Fine threads usually perform better in dense hardwood because they reduce splitting and improve control.
Construction screws are designed for framing, outdoor structures, and heavier loads. Many have deeper threads and stronger shanks than ordinary wood screws. For visible trim, use trim-head screws with smaller heads. They leave a less noticeable mark. Pocket-hole screws work with angled joints, but their thread shape must match the wood. Using the wrong type can weaken the connection.
Screw length matters as much as screw type. A useful rule is to penetrate the second piece by roughly two-thirds of the screw’s length. Leave enough material to avoid damaging the far surface. Exterior projects need corrosion-resistant screws, especially around rain or humidity. I often drill a pilot hole in hardwood, even when the packaging says it is optional. It takes seconds and prevents cracked edges. Still, I have occasionally chosen a screw that was too long, proving that quick measurements deserve more attention.
How to Choose the Right Wood Screw for Your Project?
Screw length should match the joint, not just the board thickness. For a face joint, let the screw pass through the first board and penetrate about two-thirds of the second board. Leave enough wood around the point to prevent splitting. A 25 mm screw may suit a thin trim piece, while a 50 mm screw may be better for joining 18 mm boards. Check the joint physically. “Longer” is not always stronger.
Diameter must match the wood’s density, load, and edge distance. The USDA Forest Products Laboratory’s Wood Handbook, FPL-GTR-282, identifies specific gravity and penetration depth as major factors affecting screw withdrawal resistance. Its species data show meaningful density differences between common softwoods and hardwoods. Denser wood often needs a pilot hole and a moderate screw diameter. Softer wood may accept a larger thread, but over-tightening can strip the fibers.
The 2024 National Design Specification for Wood Construction also bases withdrawal design on wood properties, screw diameter, and thread penetration. Use those factors together. For a 3 mm screw, a pilot hole near the core diameter can reduce splitting, especially near an edge. Test one screw in scrap wood first. I have seen perfectly sized screws fail because the joint was clamped poorly. Moisture, grain direction, and a shallow bite can change the result. These details are easy to underestimate.
Matching Screw Length and Diameter to the Wood and Joint
| Project or Joint | Typical Wood Thicknesses | Recommended Screw Length | Suggested Screw Diameter | Common Size Reference | Wood Type and Joint Guidance | Pilot-Hole Guidance |
|---|---|---|---|---|---|---|
| Joining 1/2 in plywood to 3/4 in solid wood | 1/2 in facing material 3/4 in receiving member |
1 to 1-1/4 in | Approximately 0.138 to 0.164 in shank diameter | #6 or #8 wood screw | Suitable for cabinet backs, small panels, and light-duty assemblies. Use a flat or washer-style head when a broad bearing surface is helpful. | For hardwood, drill a pilot hole about 1/8 in; for softwood, approximately 7/64 to 1/8 in. Countersink if a flush head is required. |
| Attaching 3/4 in boards to a 3/4 in board | 3/4 in face board 3/4 in support board |
1-1/4 to 1-1/2 in | Approximately 0.164 in shank diameter | #8 wood screw | Appropriate for basic face-frame, trim, and general woodworking joints. Position the screw so the tip does not break through the rear face. | Use about a 1/8 in pilot hole in softwood and about a 9/64 in pilot hole in dense hardwood. Drill a clearance hole through the top board when reducing splitting is important. |
| Joining a 1 in board to a 1-1/2 in or thicker member | 1 in face board 1-1/2 in or thicker receiving member |
1-1/2 to 2 in | Approximately 0.164 to 0.190 in shank diameter | #8 or #10 wood screw | Useful for shelves, workbench components, and substantial frame joints. Choose the larger diameter when the joint carries greater load or experiences vibration. | For hardwood, use a pilot hole close to the screw’s root diameter; for softwood, a slightly smaller pilot hole is usually adequate. Test on scrap material first. |
| Fastening 1/2 in plywood to a 2x4 or similar frame | 1/2 in panel 1-1/2 in actual framing thickness |
1-1/4 to 1-5/8 in | Approximately 0.138 to 0.164 in shank diameter | #6 or #8 wood screw | Suitable for cabinet carcasses, utility boxes, and light framing. A washer-style or pan head can help hold plywood without excessive crushing. | A pilot hole is recommended near panel edges, especially in hardwood plywood. Use a clearance hole in the panel when the joint must pull tightly together. |
| Building a 3/4 in shelf with a 3/4 in edge or cleat | 3/4 in shelf 3/4 in cleat or edge support |
1-1/4 to 1-1/2 in | Approximately 0.164 to 0.190 in shank diameter | #8 or #10 wood screw | Use multiple screws spaced along the joint. For a visible edge, predrilling and countersinking help reduce splitting and improve appearance. | Drill a clearance hole through the shelf when possible. In hardwood, use a pilot hole in the cleat at least as deep as the threaded portion. |
| Joining two 1-1/2 in thick framing members | Two members with approximately 1-1/2 in actual thickness each | 2-1/2 to 3 in | Approximately 0.190 to 0.216 in shank diameter | #10 or #12 wood screw | For heavier-duty wood joints where long grain engagement is available. Confirm that the screw length will not exit the far side of the receiving member. | Use a full-length pilot hole in dense hardwood and near the root diameter. A clearance hole through the first member helps the joint draw closed. |
| Attaching hardware or a hinge to solid wood | Hardware typically mounted to 3/4 to 1-1/2 in wood | 1/2 to 1 in, depending on hardware thickness | Approximately 0.118 to 0.164 in shank diameter | #4, #6, or #8 wood screw | Select a screw head that fits the hardware countersink or mounting hole. The screw should provide useful wood engagement without protruding through the back. | Pilot holes are especially important near edges and in hardwood. Match the pilot-hole size to the screw’s root diameter rather than its outside thread diameter. |
| Outdoor wood-to-wood assembly | Commonly 3/4 to 1-1/2 in boards or framing | 1-1/4 to 3 in, based on the joint | Approximately 0.164 to 0.216 in shank diameter | #8, #10, or #12 exterior-rated wood screw | Use corrosion-resistant fasteners suitable for the exposure and compatible with treated lumber. Choose a length that leaves strong thread engagement without penetrating the opposite face. | Predrill near board ends and edges to reduce splitting. For dense or treated wood, use a pilot hole sized according to the screw manufacturer’s technical guidance. |
Choosing a wood screw starts with the thread, not the package label. Coarse threads grip softwood quickly and reduce installation time. Fine threads suit hardwoods because they cut more gently and resist splitting. For plywood or dense boards, I usually drill a pilot hole first. The hole should match the screw’s core diameter, not its outer thread diameter. This small step prevents cracked edges and uneven joints.
Head design controls both appearance and holding performance. A countersunk head sits flush after careful driving, making it useful for cabinets and trim. A washer-style head spreads pressure across thin boards and helps prevent pull-through. Round or pan heads work well when the screw needs a visible, stable bearing surface. Avoid forcing a large head into a narrow edge. Wood may crush before the screw reaches full strength.
The drive design matters during real installation. A recessed star or square drive usually gives better control than a shallow cross drive. It reduces slipping, especially when working overhead or near a corner. Use a bit that fits tightly, and keep the drill aligned with the screw. I once selected a screw that looked strong but used the wrong head for the joint. It held briefly, then damaged the surface. That mistake still reminds me to test one screw on scrap wood before finishing the project.
Choosing a wood screw starts with the project environment, not the screw box. In my workshop, I check moisture, salt exposure, temperature changes, and contact with treated timber. A bright steel screw may work indoors, but it can stain wood and corrode quickly outdoors. The USDA Forest Products Laboratory’s Wood Handbook reports that decay fungi generally require wood moisture above 20%. That figure makes drainage and coating selection practical concerns, not minor details.
For dry interior furniture, zinc-plated carbon steel usually provides adequate corrosion resistance. Use a stronger protective system where humidity remains high. Polymer-coated or mechanically galvanized screws suit many exterior projects, but coating damage around the drive recess can expose bare steel. Stainless steel is a safer choice near coastlines, pools, and frequently washed surfaces. ISO 9223 classifies marine air as a higher-corrosivity environment, so salt exposure deserves more caution than ordinary backyard moisture.
Match the screw to the wood, too. Acidic species can accelerate corrosion, while treated lumber may contain chemicals that attack unsuitable metals. Pre-drilling reduces splitting, especially near board ends. I once trusted a “weather-resistant” coating without testing the timber, and dark streaks appeared after one wet season. That mistake still matters. Check the technical datasheet, confirm the coating’s intended environment, and test one hidden connection before installing hundreds. Small details prevent expensive repairs.
Choosing the right wood screw starts with compatibility, not appearance. Match the screw material to the environment. Stainless steel suits damp areas, while coated carbon steel fits many dry indoor projects. The USDA Forest Products Laboratory’s Wood Handbook states that withdrawal resistance depends on wood density, screw diameter, and penetration depth. A long screw is not automatically stronger. It may split a narrow board or strike hidden wiring.
Check the screw’s thread design and head shape against the material. Coarse threads usually grip softwood effectively. Fine threads can perform better in hardwoods, but drilling a pilot hole remains important. The handbook also explains that pilot holes reduce splitting and installation damage. For structural connections, consult the National Design Specification for Wood Construction. Its design tables adjust withdrawal values for wood specific gravity, penetration, and load direction. Those details are easy to overlook. I have seen tight-looking joints loosen because the screw entered end grain.
Tips: Measure the combined material thickness before buying screws. Leave enough threaded length in the supporting wood. Test one screw on scrap first. Use a countersink only when the head requires it. Stop when the head sits flush, not buried. Check for wobbling, crushed fibers, or excessive heat. A torque-controlled driver improves consistency, although it cannot correct a mismatched screw. Recheck the joint after installation, especially in seasonal humidity.
Checking compatibility and installation requirements
Larger diameters generally provide greater holding capacity, but they also require more clearance and can increase splitting risk.
Use coarse threads for softwoods and engineered wood, and finer threads where the material is hard or dense.
For outdoor or damp applications, select a corrosion-resistant screw suitable for the exposure conditions.
Choose a length that provides adequate embedment without penetrating unintended surfaces, and pre-drill near board edges.
The chart shows common U.S. wood-screw gauges and their approximate nominal major diameters. Final selection should also consider joint load, wood species, board thickness, screw length, head style, and exposure.